
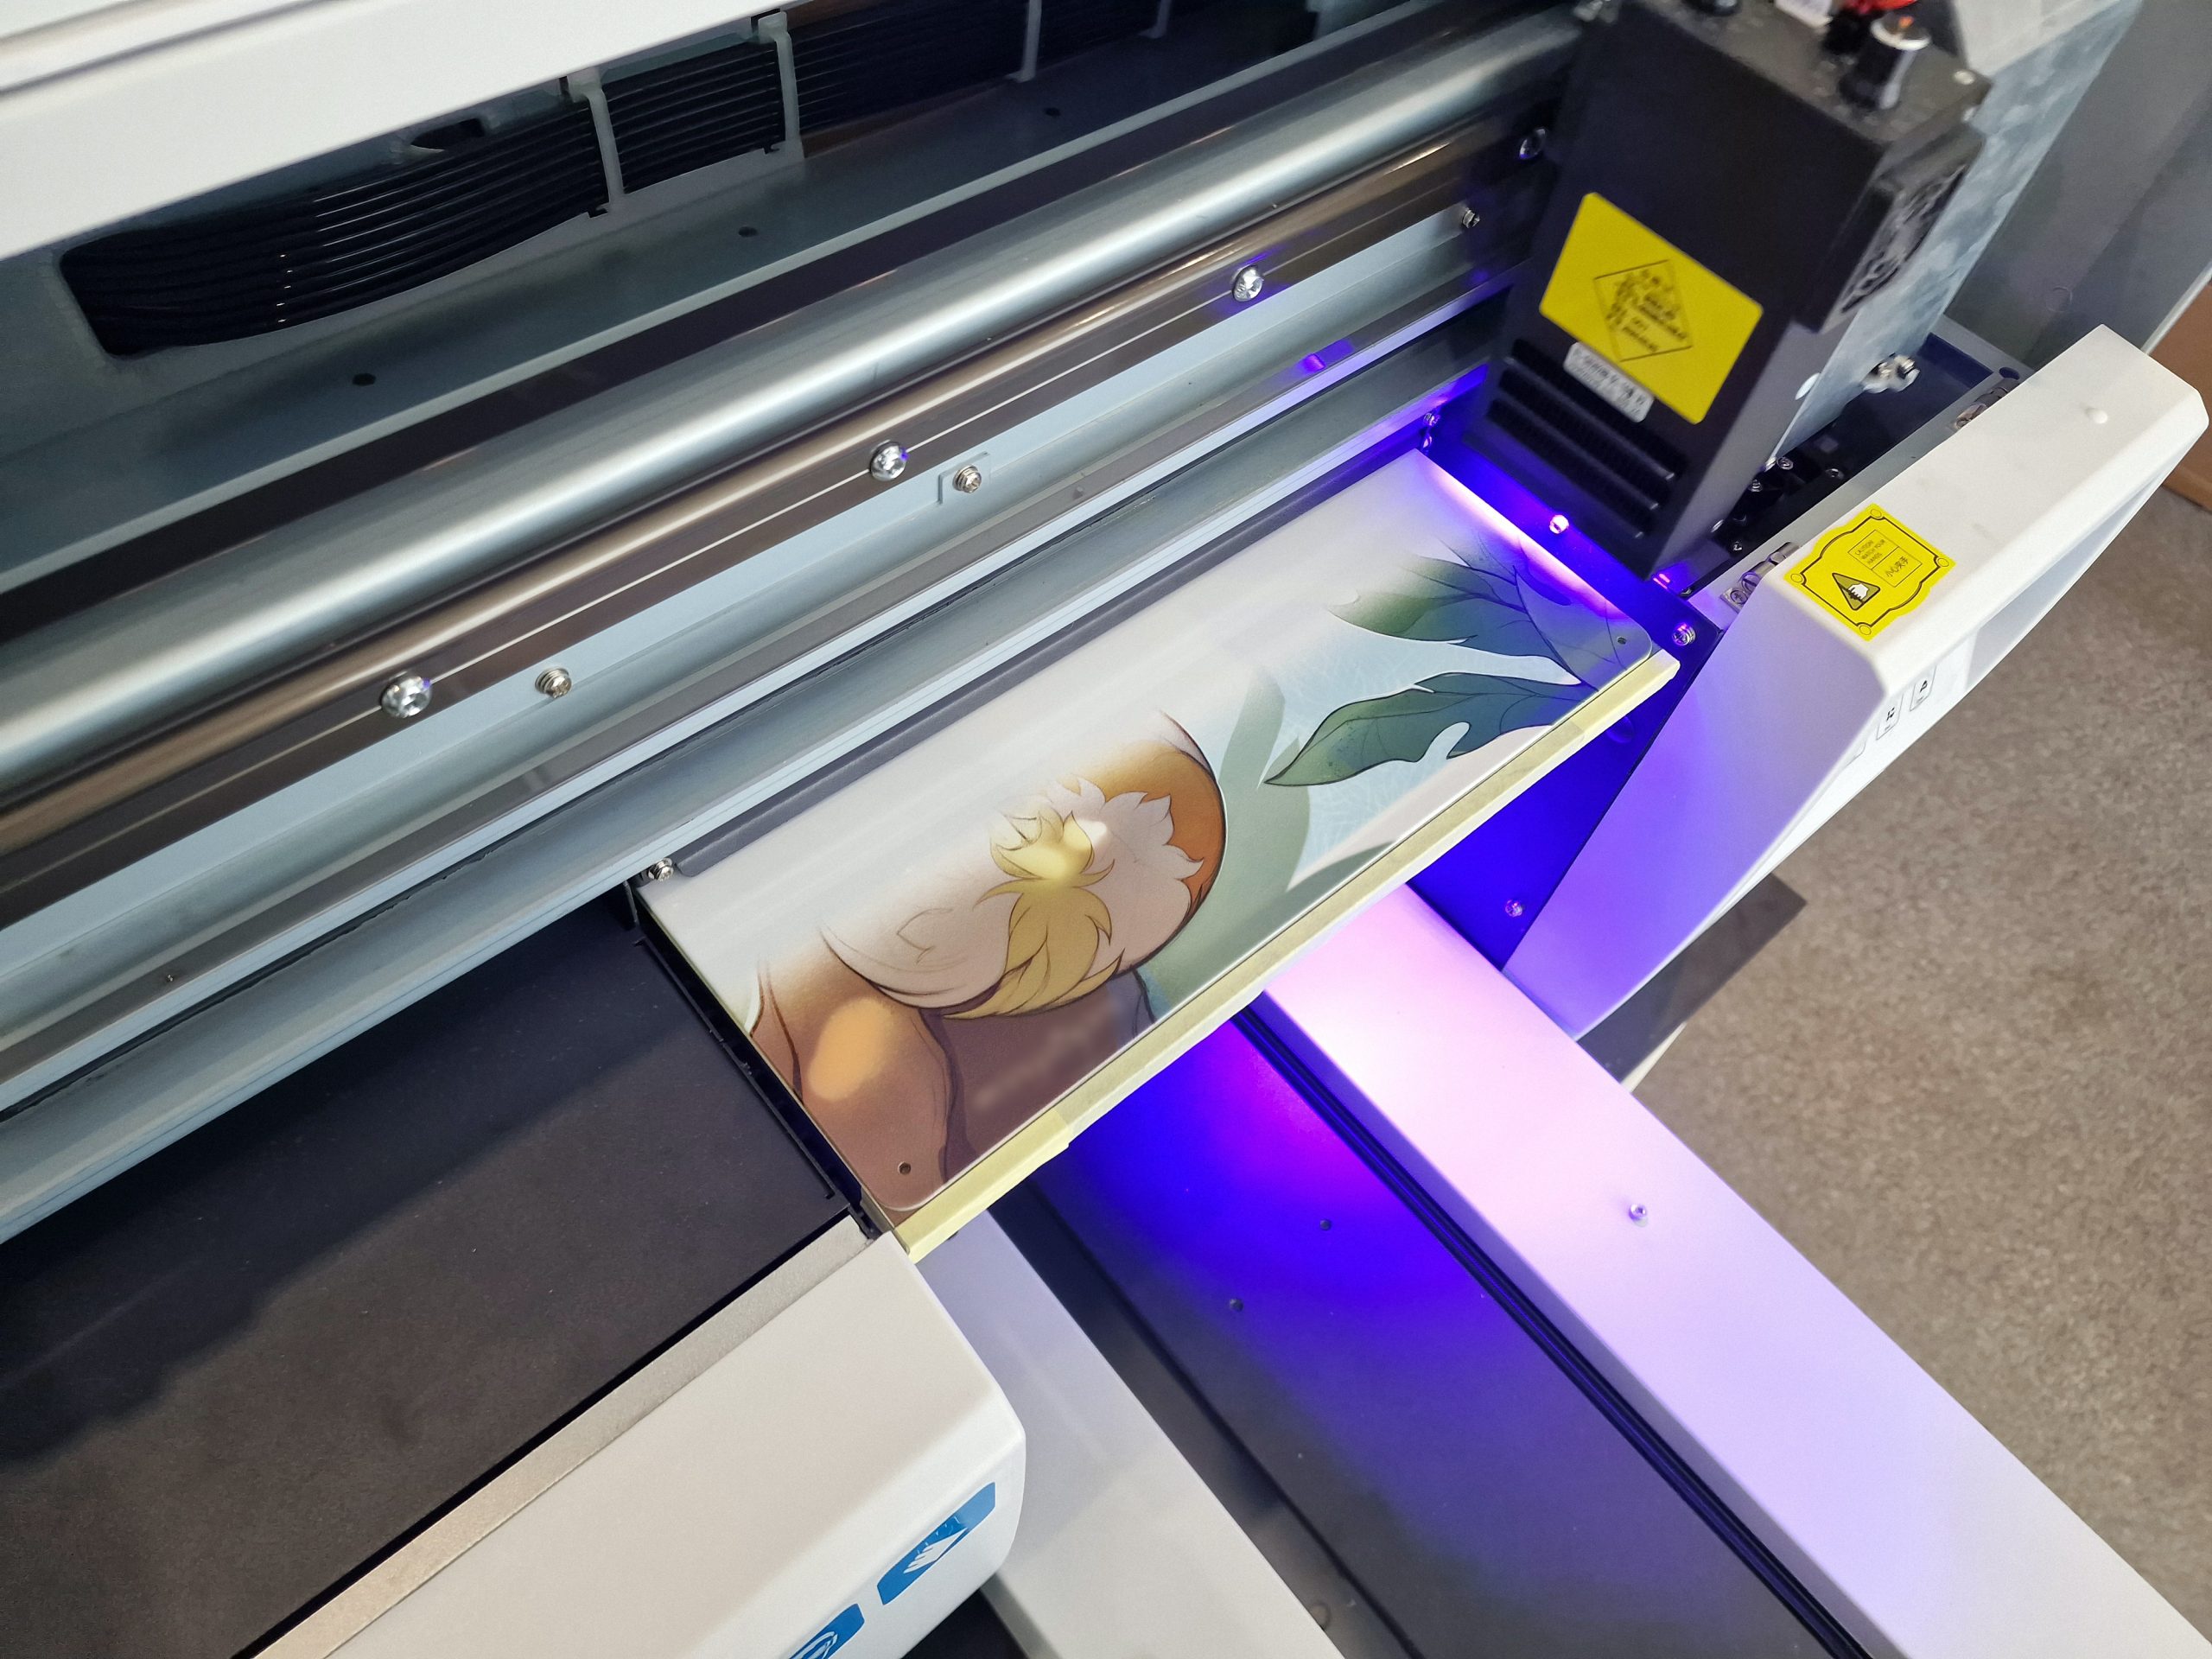
Preparing files for print
Preparing the files for print is one of the most important step in the whole process! Here’s some information that should help you with the process.
Required images/layers for each type of print
White / varnish / cut lines
These are mostly optional because they are usually done by me.
Unless you want to have more control (like make only parts of the image shiny, or make parts of the image transparent on the acrylic.
Print on acrylic is done in several layers – and in the table below they are in order from the outer most to the one printed directly onto to acrylic.
| Preview | Layer type | Description |
|---|---|---|
 | Varnish (optional) | Varnish that will cover the printed image – it may be applied to the whole image, or just some of its parts! UV print is matte by default, so this is the way to make the image (or some of its parts) glossy. |
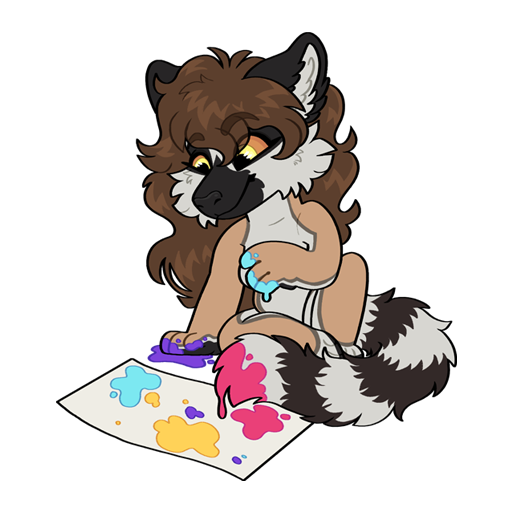 | Image – top | Image that will be visible at the top of the acrylic – and covered with varnish or epoxy if selected. |
 | White underprint (optional) | Since some media are transparent or not white, this is a special layer to be printed with white ink. Usually it covers the whole image, but if you want to make some of the parts semi-transparent, you can specify these parts on this layer! In this case, only one layer should have any color in these parts, otherwise they will be printed over. |
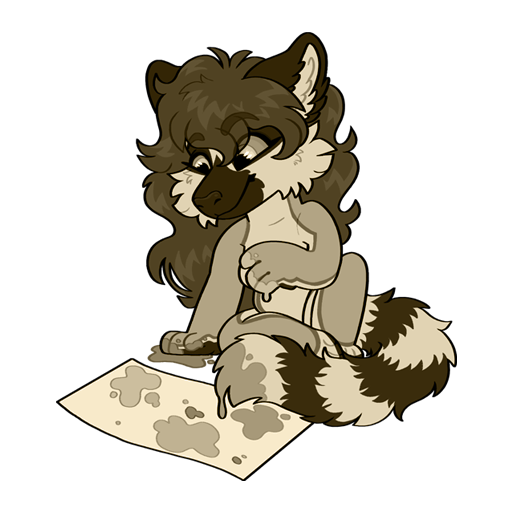 | Image – bottom | This image will be printed first, and will be viewed through acrylic. This means it will be mirrored! Bounduary of this image should be identical to the top image and white underprint layer for best results. |
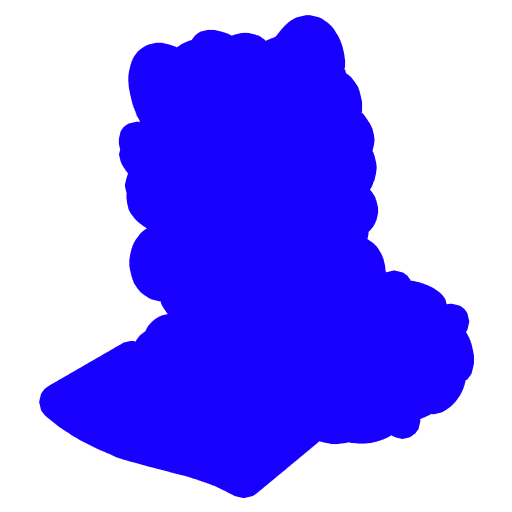 | Cut line (optional) | This is an outline for the cutting line. It’s just the main image with a 2mm outline and all the small holes filled in. For charms, it should contain hole for the attachment (by default I add 2mm hole with 3mm border around). If you plan to also have epoxy resin coating, all sharp angles must be rounded to preven spilling of the resin during curing. |
| Preview | Layer type | Description |
|---|---|---|
| Image | Your default sticker image. If you send me stickers from Telegram, please remove the shadow, unless you want it printed! |
| Cut line (optional) | This is an outline for the cutting line. It’s just the main image with a 2mm outline and all the small holes filled in. You can combine these two layers in one image – transparent part will double as cut line! |
| Preview | Layer type | Description |
|---|---|---|
| Varnish (optional) | Varnish that will cover the printed image – it may be applied to the whole image, or just some of its parts! UV print is matte by default, so this is the way to make the image (or some of its parts) glossy. |
| Image – top | Your main image. |
| White underprint (optional) | Usually it covers the whole image for best color reproduction, but if you want to print directly onto the media, you can skip this layer or make some of the parts semi-transparent using this layer! |
| Cut line (optional) | This is an outline for the cutting line. It’s just the main image with a 2mm outline and all the small holes filled in. For charms, it should contain hole for the attachment (by default I add 2mm hole with 3mm border around). If you plan to also have epoxy resin coating, all sharp angles must be rounded to preven spilling of the resin during curing. |
For cutting and engraving, the go-to standard is a SVG vector file. You can quickly make it using free software InkScape – here’s how: https://inkscape.org/doc/tutorials/tracing/tutorial-tracing.htm. You can also send me a black and white image so I can do it myself!
If you want to have a cut and engrave at the same time, in your SVG file use the following color coding so there would be no mistakes.
| Type | Description |
|---|---|
| Cut lines | Red lines, no fill |
| Engraving lines | Blue lines, blue fill |
Image formats
| Image format | Description | Sample files |
|---|---|---|
| PNG | I prefer PNGs, because you can clearly see which part of the image should be white or transparent. For sticker images, please remove the shadow, unless you want it to be printed! | Image file Selective varnish White underprint Cutting lines |
| TIFF / JPG / other | For formats that don’t support transparency, you must prepare another image with cut lines / white underprint. | – |
PSD (Photoshop) XCF (Gimp) | You can prepare appropriate layers directly in the software like so: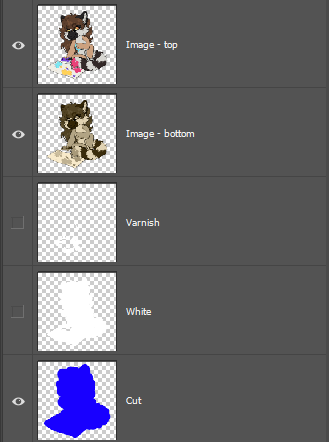 In Photoshop, you can also specify white and varnish layers as spot channels instead of layers. In this case, please name them “Spot 1 – W” and “Spot 2 – V”. |  Photoshop file with layers and spot channels |
Sample image on this page was created by Royaltrill!